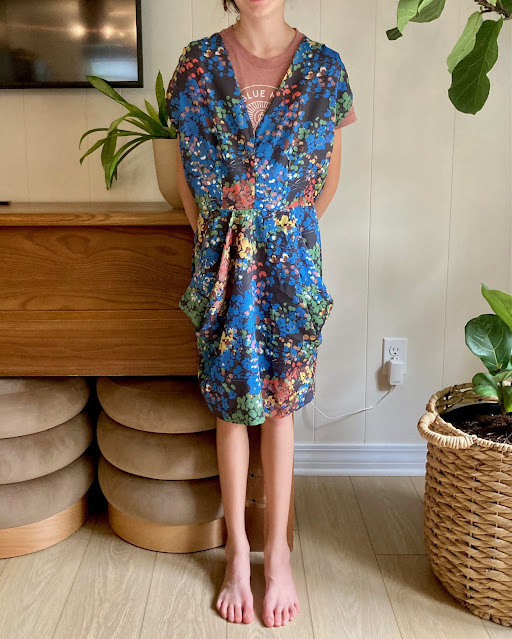
It's been a good while since I took on a refashion so I revved that engine back up last week and finally started going through my small pile of to-be-sewns...the small pile that
was a large pile before I counted my losses and donated half of the clothes before we moved last year.
Can't say I miss them...
Anyway, I found this shirt on a clearance rack at Target, oh, maybe two years ago, for something like $6. I snatched it up even though it was two sizes too big for me because I loved the print and I knew I could easily take it in. So, it went straight to the refashion pile.
Straight to that pile were it sat and sat...
I'm pretty sure I've written a tutorial on how to do this before but I'm also pretty sure it was a maternity top and I've gained some efficiency knowledge since then. So, round two. One of the easiest, beginner-level sewing things to do when you're talking refashioning shirts, is taking them in at the sides to fit you. Really this is easiest with sleeveless shirts like the one I've got here today but sometimes you can follow up and along the sleeve of a shirt to get the same result with sleeved tops. I'll make a mental note to do one of those someday too.
There are two easy ways to do this. 1) Use a shirt you already have, and like the fit of, as a template or 2) inch your way in little by little until you get the fit you want, following the existing edge. For this post, I went the template route.
Things you'll need?
Well, I wish I could slap a "no-sew" label on this one but alas, you'll need a sewing machine for this unless you're an Olympic hand seamstress. If you're a beginner and just want to start slow and with straight lines,
this Brother* is reasonable, has good reviews, and will do ya just fine for lots and lots of sewing projects.
This one* is even cheaper but without many stitch options. If you've got a little bit of sewing skill under your belt or just want to jump in head-first and with a good machine,
this one* is the newer model of mine. I've had my dear Brother for oh, six or seven years now and LOVE it. I've had zero problems with it. It sews everything I've ever made and even embroiders so I've been able to make our Christmas stockings and then monogram them all with one machine. Two thumbs way up.
You'll also probably need a
sewing scissors* (I'd write "sewing" on it so no one thinks they can use it for anything else), a
seam ripper* just in case, a
sewing pencil* (I always use my kids' washable markers) and of course, a shirt that's too big on you.
Here's my shirt in it's original state:
It could've had a chance at flowy if the arm holes weren't the size of Texas on me.


